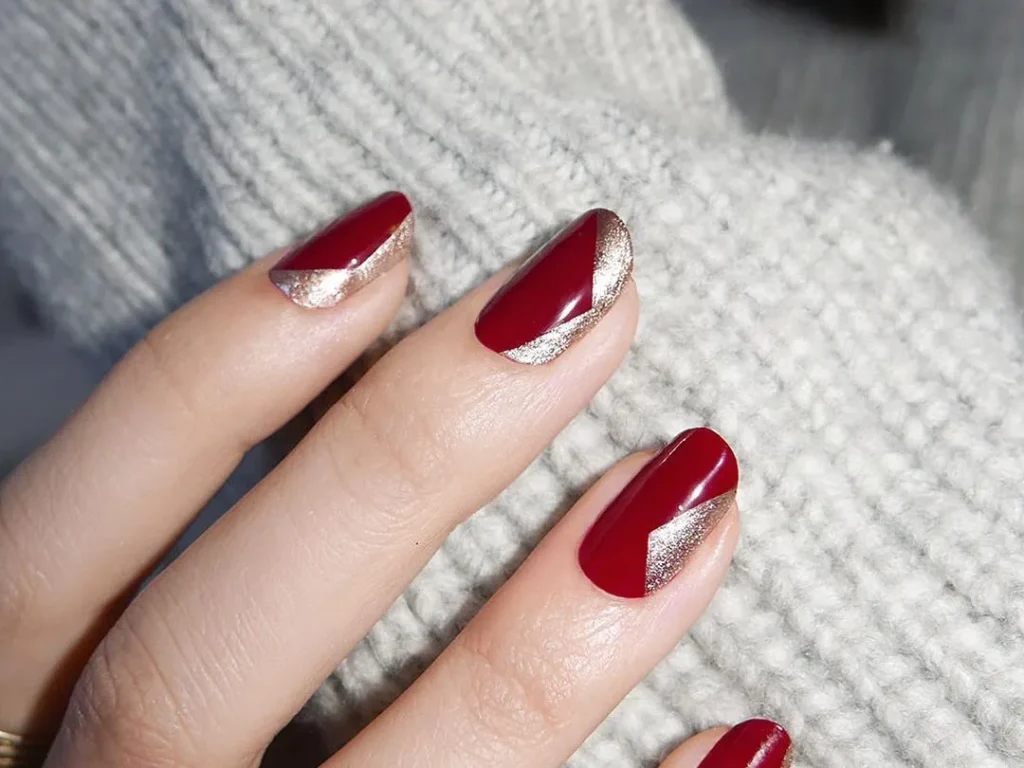
In recent years, nail design has seen a remarkable surge in creativity and self-expression. From intricate patterns and vibrant colours to unique textures and 3D embellishments, nails have become a canvas for personal style. The good news is you don’t need to visit a salon to achieve stunning nail designs; with a bit of creativity and the right tools, you can master the art of nail design in the comfort of your own home.
For many, achieving salon-quality nails at home can be impossible. Visions of messy polish applications, shaky lines, and smudged designs dance in our heads, deterring us from even attempting the DIY approach. But fear not, fellow nail art enthusiasts! Anyone can transform their fingertips into miniature masterpieces with practice, the right tools, and a dash of creativity.
Basic Techniques
Step 1: Prep and Prime
Before unleashing your inner Picasso, a solid foundation is critical. Remove any lingering polish and gently buff your nails to an even canvas. Apply a base coat to protect your nails and promote polish adhesion. This is your unsung hero, ensuring a smooth, chip-resistant finish.
Step 2: Brush Basics
Nail art brushes come in a dazzling array of shapes and sizes, each with its speciality. Familiarize yourself with the essentials:
Striper Brush: The name says it all! This fine-tipped wonder is perfect for creating crisp lines, geometric patterns, and delicate details.
Dotting Tool: Dive into the world of polka dots, swirls, and floral accents with this versatile tool. Its rounded tip allows for precise dot placement and playful patterns.
Angled Brush: Master French tips and intricate corner designs with this slanted hero. Its angled head hugs the nail curve effortlessly, making clean lines a breeze.
Step 3: Polish Palette
Every artist is complete with a vibrant palette, and nail polish is no exception! Build a collection that reflects your personality and desired designs. Start with neutrals for elegant bases and French tips, then add pops of colour and shimmer for playful accents. Remember, thin layers are your friend – they’re easier to control and prevent dreaded gloopiness.
Step 4: Design Inspiration
Need to be more inspired? Don’t fret! The internet is your oyster when it comes to nail art inspo. Browse social media platforms like Instagram and Pinterest for endless tutorials, trend reports, and jaw-dropping designs. Save your favourites for future reference, and let them ignite your creative spark.
Step 5: Practice Makes Perfect
Remember, Michelangelo wasn’t born sculpting masterpieces. Embrace the learning process! Start with simple designs like stripes, dots, or colour blocking to build confidence and refine your technique. As you master the basics, graduate to more intricate patterns and detailed creations. Don’t be afraid to experiment, have fun, and laugh at the occasional mishap – it’s all part of the journey!
Bonus Tips for Flawless Fingos
Work in sections: Divide your nails into smaller areas to tackle them one step at a time, ensuring precision and preventing smudging.
Clean as you go: Dip your brush in acetone (nail polish remover) to remove excess polish before moving on to the next step. This keeps your lines crisp and prevents unwanted transfer.
Seal the deal: Apply a top coat to protect your artwork and extend its lifespan. Choose a glossy finish for high shine or a matte option for a modern, velvety touch.
With dedication, a touch of creativity, and these helpful tips, you’ll be well on your way to mastering the art of nail design at home. So grab your brushes, unleash your inner artist, and let your fingertips be your canvas!

